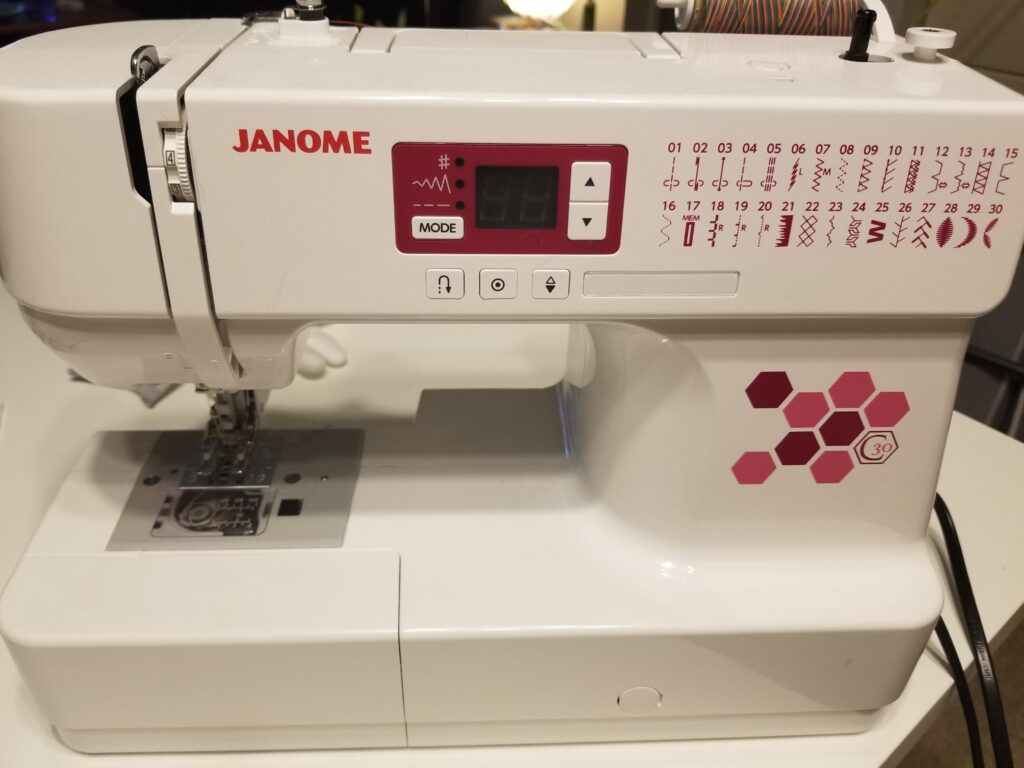
Since March is National Quilting Month, I thought it was the perfect opportunity to give an update on my quilting setup! For some who may not know, my quilting journey started five years ago with a teeny tiny Janome machine. I had never sewn two pieces of fabric together before this! I had always loved to craft and had been a crocheter and cross-stitcher for many years. My mom taught me how to crochet when I was a kid. She made clothes for all of my dolls. Who knew I would appreciate them more when I got older?
Although she had a vintage Singer sewing machine (actually this EXACT one from the Project Lady blog), she never taught me how to sew. She was probably afraid I would get a finger caught, as I remember being told that story about my dad when they both used to work in an industrial sewing shop when they first met.
How My Quilting Journey Started
Then came the lockdowns, and I was on the hunt for a new hobby. While everyone else was making sourdough starters and banana bread, I wanted to make quilts! I bought a Janome machine that was within my budget. Watched some YouTube videos, read blogs, and took on more than I could handle. The good thing is that I didn’t realize it. I jumped in feet first, fearless and happy to try something new.
In hindsight, I’m glad I didn’t know that some sew the quilt tops, but don’t quilt all three layers together themselves. I knew I wanted to make a quilt, so I was going to make a quilt. To me, that meant the entire process.
Here’s a blog post I wrote about the very first quilt I made. I’ve gifted it to my sister, who lives in another state that I don’t see very often, so I have no idea what it looks like now. I would love to see how horrible it looks compared to my recent quilts. How good could it look when I pushed and pulled that Queen-size quilt through the 5-inch throat of my first sewing machine?
After a few other tries at quilting, I realized I needed something with a larger throat, so I bought a Jazz II machine. I know there are plenty of people who love their Jazz II, but it seems that machine either has rabid fans or serious haters. It wasn’t my favorite, so I sold it to another quilter.
Upgrading to a Juki
Then, I found my favorite (and only) sewing machine, a Juki TL-2000Qi. I love that it is a simple straight stitch only machine. I know many sewists who need/want all the bells and whistles on their machines, but I’m good with what I have. If I were to upgrade, I would want another Juki, but the industrial straight stitch machine. One that will help me get through multiple layers of marine vinyl and faux leather for bag making.

But I digress—that Juki was a Godsend! It taught me so much about sewing and quilting and was just what I needed for quilting on the Cutie tabletop quilting frame I bought with it!
The Cutie Tabletop Frame
I got my Cutie Frame in April of 2022. After learning more about the frame, how to properly use it, and that I needed a stitch regulator, I was all set! The heavens opened and shined a light down into my apartment! I couldn’t believe I was quilting as if I had a longarm! The Cutie was truly like a gateway into the quilting world. It was so much easier to move my machine instead of my fabric. Since I had been a cross stitcher, the idea of re-hooping a project wasn’t foreign to me.
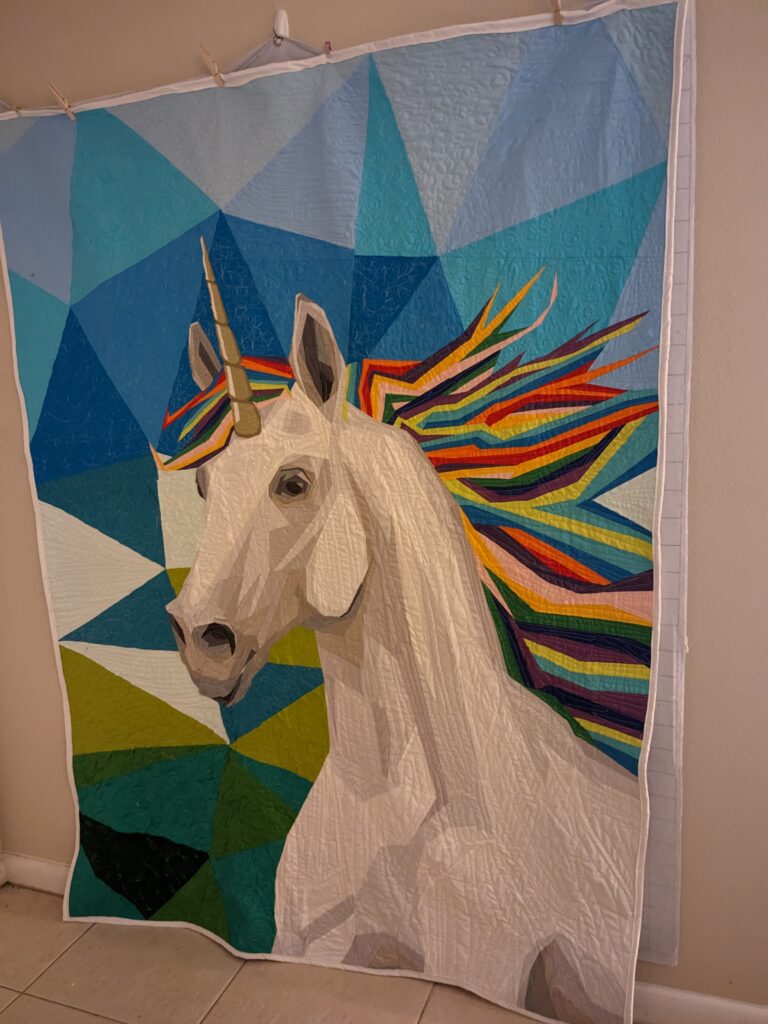
This quilt is by far my favorite that I made with my Juki/Cutie quilting combo. This pattern is available here from And Sew I. I made it for my friend Xan for her birthday, and she loved it!
Q’nique 19x Elite Upgrade
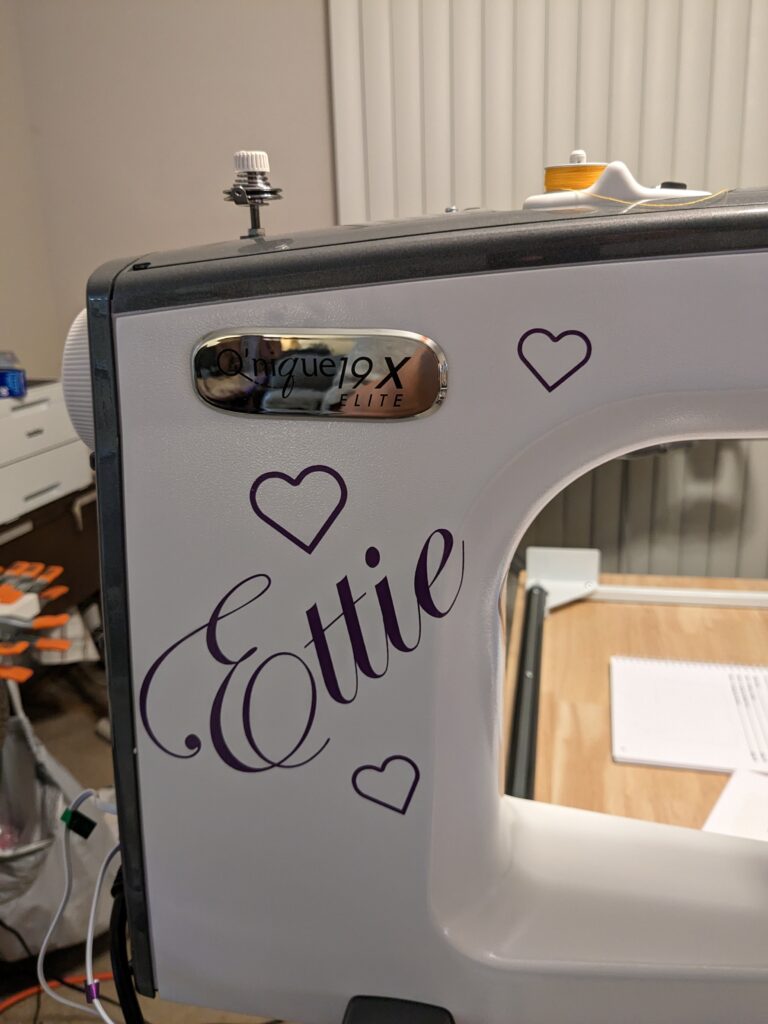
After a while, I got frustrated with my throat space limitations. I decided it was time to upgrade to an actual longarm machine. The maximum throat size on the Cutie frame is 19 inches. I’m happy I waited to buy a longarm because the Grace Company had come out with the X series of quilting machines. In February of 2023, I got my sleek and BIG Q’nique 19x Elite longarm! I named her Ettie to honor my mom (long story, but here’s my post about my 19x).
It was refreshing to be able to quilt entire blocks and have so much space to work with! I was used to re-hooping my quilts, but I quickly realized that with the larger throat space, I was re-hooping faster than I ever had before with just a 9″ throat space.
The Largest Quilt Ever!
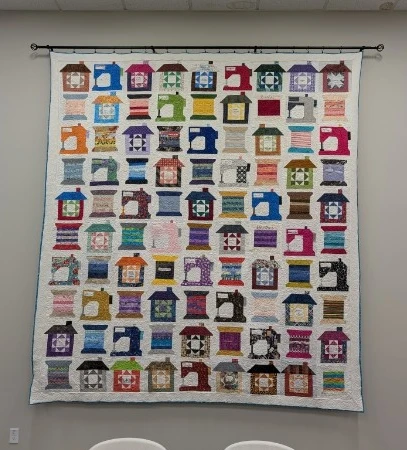
It wasn’t too much of a hassle until I quilted the largest quilt I had ever quilted on my Cutie frame. I was honored to be asked to quilt the Grace Company’s Community Quilt! This was a community quilt of all the Grace focus group members.
It was HUGE—so large that I had to wait until my husband was available to help me re-hoop. The take-up roll was so heavy that I couldn’t move it all by myself. He took one side of the take-up roll, and I took the other side, and we coordinated moving it from side to side to re-hoop the quilt. The quilt itself came out so beautiful. We had quilt blocks from members all over the country, and now the quilt is displayed on the wall at the Grace Company Headquarters! (I’ll be writing a blog about it soon!).
It was after that quilt that I knew I was DONE with re-hooping. The benefit of having a hoop quilt is that there are no size limitations. You can accommodate a quilt of any size, but how many times am I really going to be quilting something king-sized or larger?
So, I finally have fully upgraded my quilting setup! It’s done; there are NO MORE upgrades to be had!! I could go to a 21x Elite, but it wouldn’t be worth it to upgrade just for the extra 2″ of quilt space. Well…. there might be one final way to upgrade, I’ll explain later.
Upgrading to a Larger Frame
First, I got my DREAM frame in November—the Quilter’s Evolution Elite Rolling Frame! It’s the 12-foot version, but the most remarkable thing is that you can set it up as an 8-foot, 10-foot, or 12-foot frame! I set it up as the 10-foot, and I have the other pieces in storage for when (or if) I ever get enough space to make it into the 12-foot version. I’ll be writing a blog about it soon as well.

Going Digital!
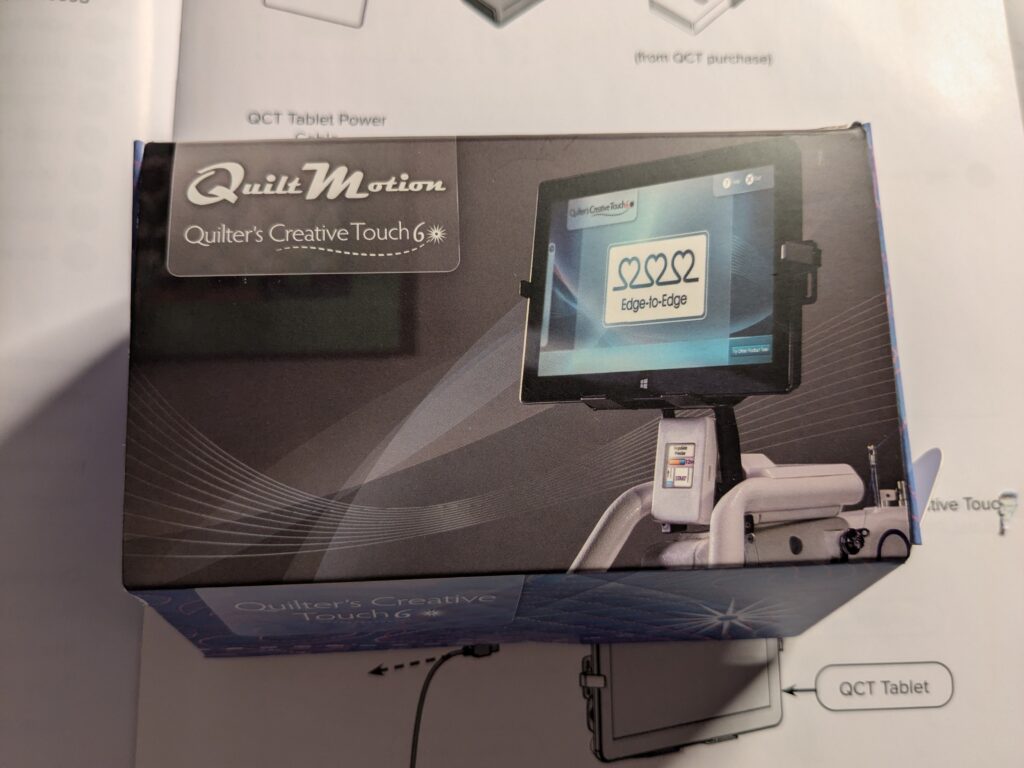
Then, in February, I went one step further and got QCT (Quilter’s Creative Touch) automation! I tried and tried to do pantographs on my own in many different ways, and I finally realized I COULDN’T DO IT! Pantographs were something I wanted to accomplish, so I decided that QCT6 was the solution to my problems. I got the basic version that allows me to do Edge Edge Pantographs, and it’s fantastic! I’ve done a practice piece and 2 quilts so far, and I am so happy and excited that I now have another option for quilting besides free motion and rulers.
How could I still upgrade? I can upgrade my QCT6 software to a higher level. There’s 2 more levels to the QCT system, so technically I could still upgrade. But that’s for another blog post and another day!
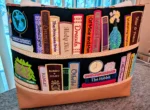
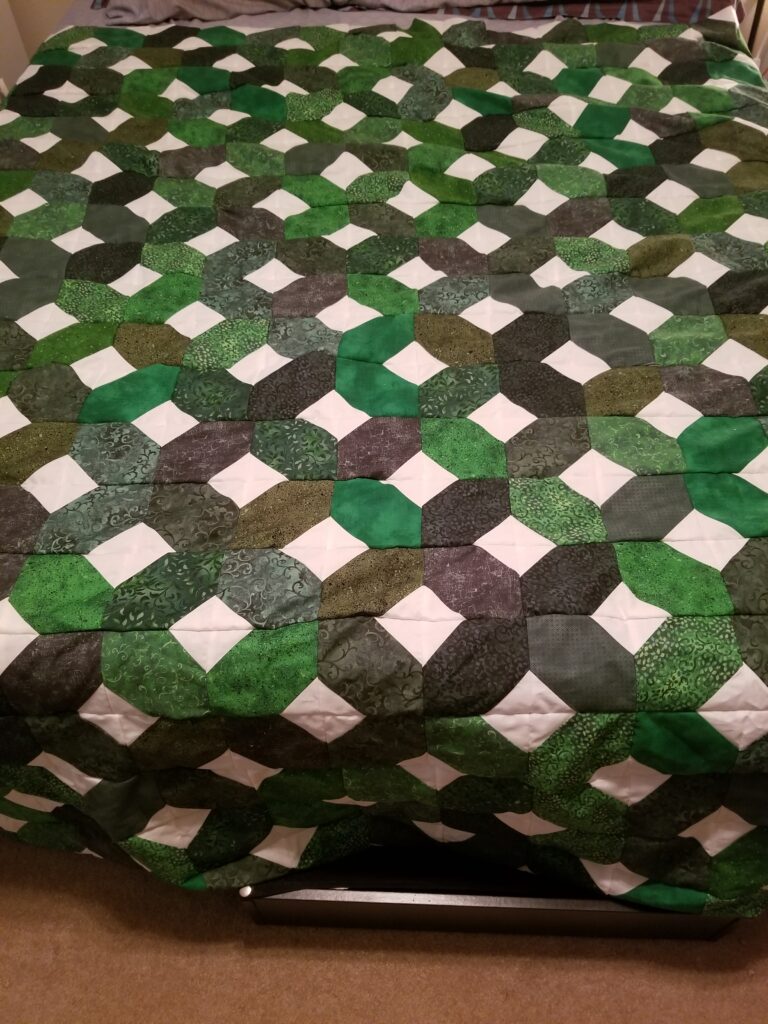
Next week, I’ll discuss receiving and setting up the Quilter’s Evolution Elite frame in depth. But for now, I hope you enjoy your quilting time this weekend and have a Happy St. Patrick’s Day on Monday! This is a wall hanging I made last year for the occasion, which I quilted on the Cutie frame with the 19x Elite!
Happy Quilting!
Didi